butterknife 是有 Android 之神之称的 JakeWharton 开发的一个依赖注入框架,可以帮助开发者快速地完成初始化控件等重复性工作。其原理是通过注解处理器生成中间代码完成控件初始化工作。关于 butterknife 的更多信息可以访问其主页:butterknife主页
版权声明:本文为 冬夏 原创文章,可以随意转载,但请注明出处。
本文主要讲解 butterknife 的基本使用
安装
在 android 工程的构建脚本下添加如下内容并点击同步
dependencies {
  compile 'com.jakewharton:butterknife:8.8.1'
  annotationProcessor 'com.jakewharton:butterknife-compiler:8.8.1'
}
使用
butter主要有一下的使用场景
绑定Activity
新建工程,布局如下:
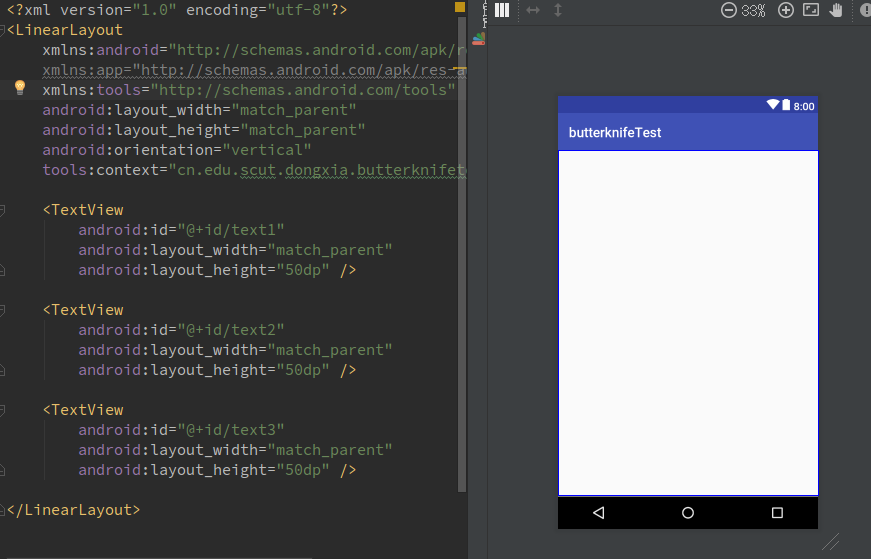
声明控件,代码如下:
@BindView(R.id.text1)
TextView textView1;
@BindView(R.id.text2)
TextView textView2;
@BindView(R.id.text3)
TextView textView3;
绑定控件,代码如下:
@Override
protected void onCreate(Bundle savedInstanceState) {
  super.onCreate(savedInstanceState);
  setContentView(R.layout.activity_main);
  mUnbinder = ButterKnife.bind(this);
}
测试效果
textView1.setText("I am text1");
textView2.setText("I am text2");
textView3.setText("I am text3");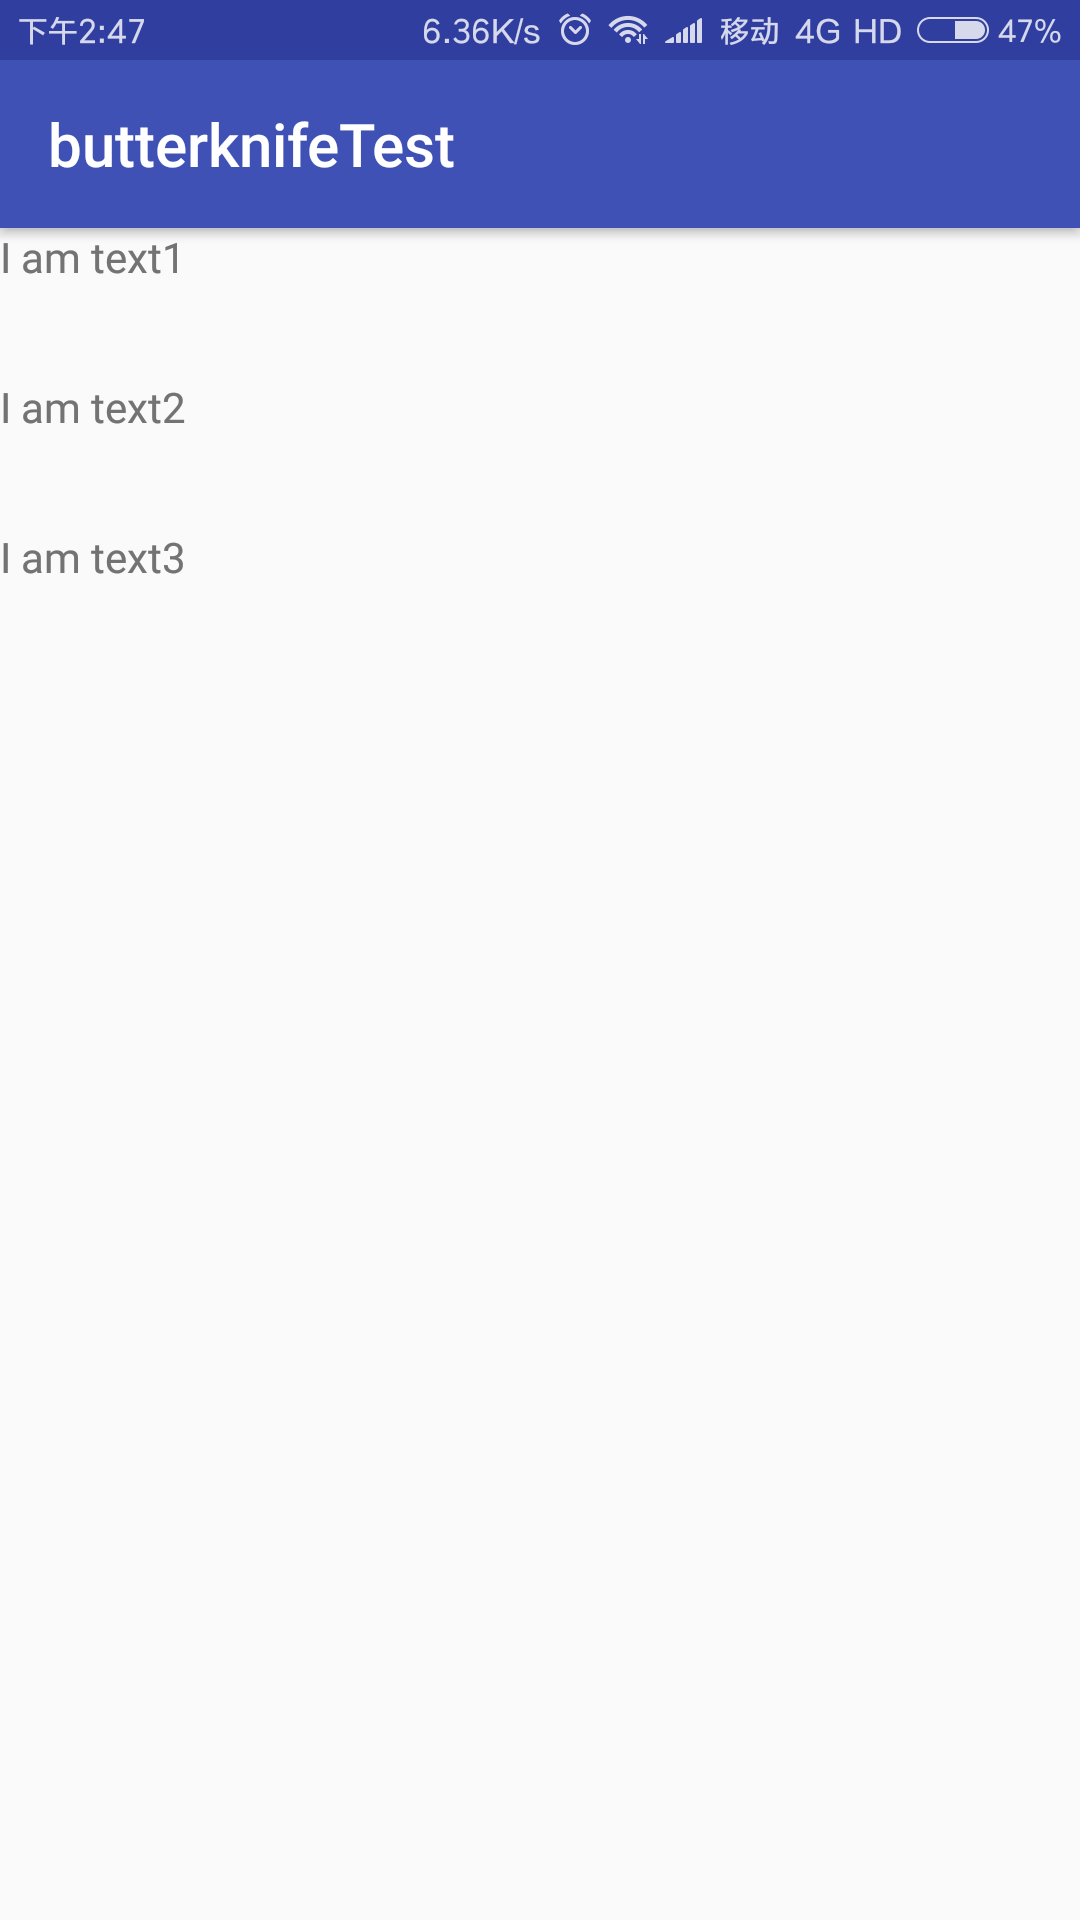
解绑
使用完毕之后需要对控件进行解绑定protected void onDestroy() { super.onDestroy(); mUnbinder.unbind(); }
绑定Fragment
绑定Fragment和绑定Activity基本一样,只是把绑定的步骤放在onCreateView()方法中,代码如下:
public View onCreateView(LayoutInflater inflater, ViewGroup container,
                         Bundle savedInstanceState) {
    // Inflate the layout for this fragment
    View root = inflater.inflate(R.layout.fragment_main, container, false);

    mUnbinder = ButterKnife.bind(this, root);
    textView1.setText("I am text1");
    textView2.setText("I am text2");
    textView3.setText("I am text3");
    return root;
}

绑定多个控件
@BindViews({ R.id.first_name, R.id.middle_name, R.id.last_name })
List<EditText> nameViews;//nameViews的集中中添加了三个edittext对象
绑定资源
绑定字符串
@BindString(R.string.title) String title;
绑定图形
@BindDrawable(R.drawable.graphic) Drawable graphic;
绑定颜色
@BindColor(R.color.red) int red;
绑定长度
@BindDimen(R.dimen.spacer) Float spacer;
绑定OnCLick事件
@OnClick(R.id.button)
void onClick(){
    Toast.makeText(this,"on click",Toast.LENGTH_SHORT).show();
}
一次性改变集合中所有对象的值
@BindViews({ R.id.first_name, R.id.middle_name, R.id.last_name })
List<EditText> nameViews;

ButterKnife.Action<View> DISABLE = new ButterKnife.Action<View>() {
    @Override
    public void apply(@NonNull View view, int index) {
        view.setEnabled(false);
    }
};

ButterKnife.Setter<View,Boolean> ENABLE = new ButterKnife.Setter<View, Boolean>() {
    @Override
    public void set(@NonNull View view, Boolean value, int index) {
        view.setEnabled(value);
    }
};

ButterKnife.apply(nameViews,DISABLE);
ButterKnife.apply(nameViews,ENABLE,false);
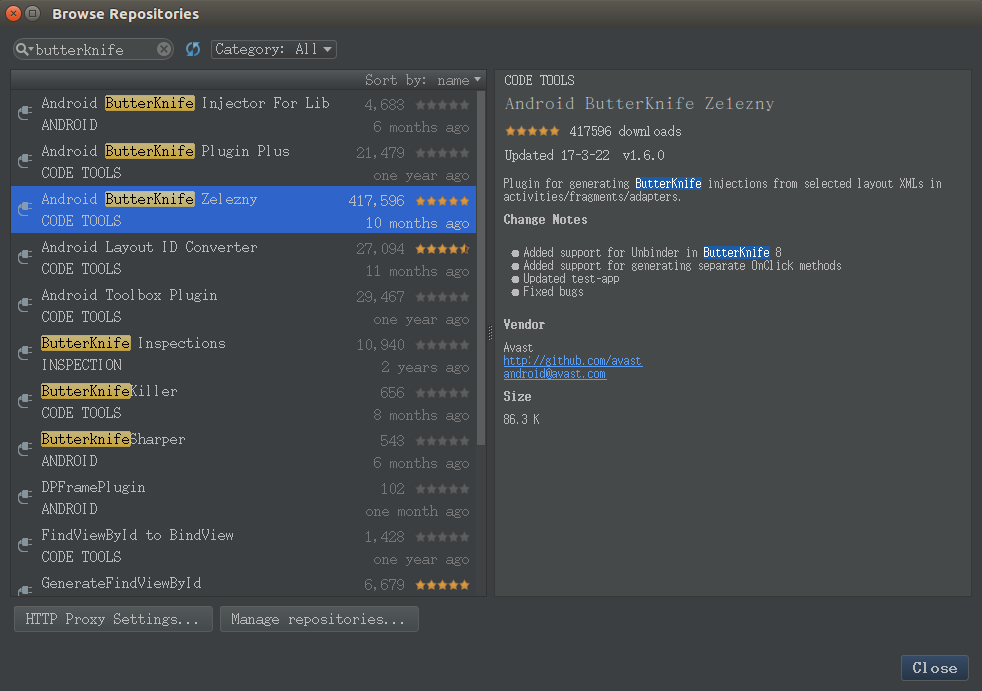
使用插件
在使用 butterknife 的过程中,可以使用插件快速生成注解
- AndroidStudio -> Settings -> Plugin -> Brouse repositories -> butterknife
- 重启AndroidStudio
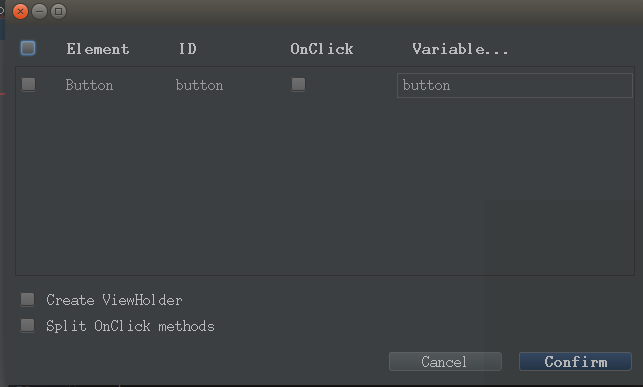
- 要生成注解的布局 -> 右键 -> Generate -> Generate Butterknife Injections
- 指定控件和对应的变量名
注意事项
- 控件不能是不能是 static 或者 private 的